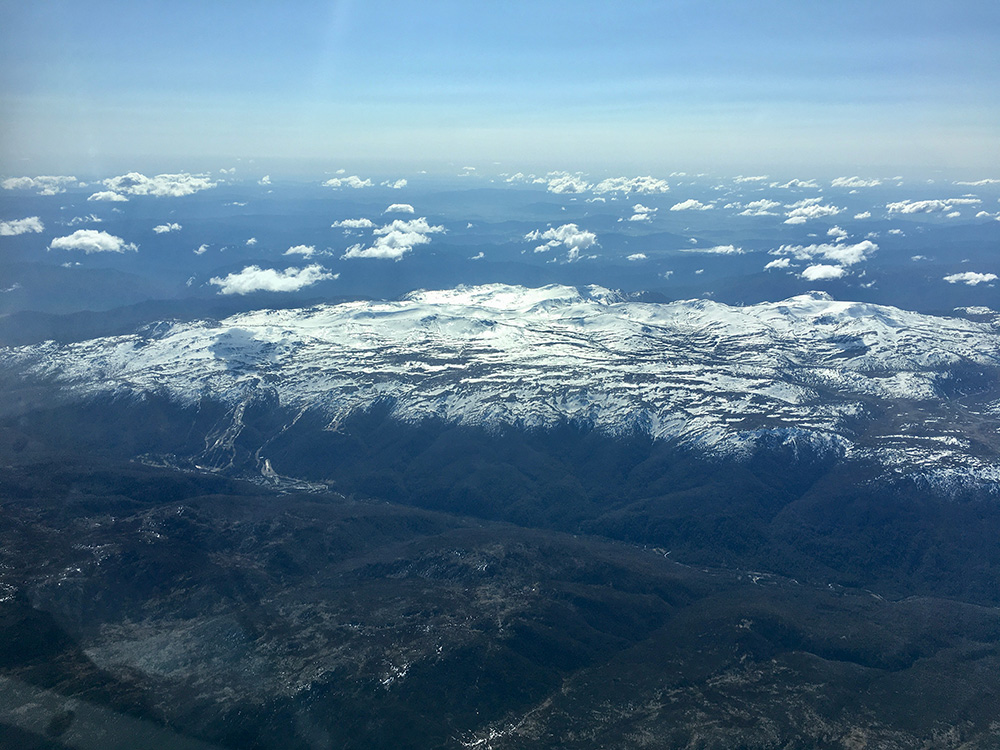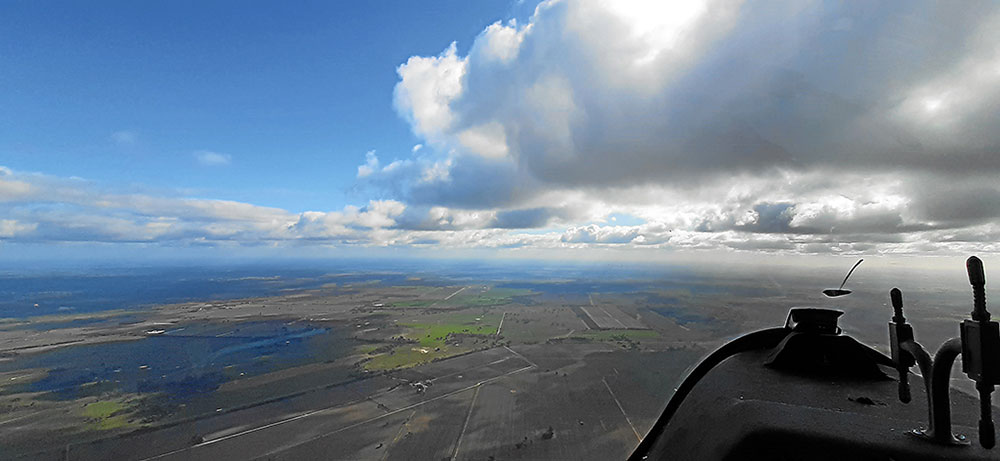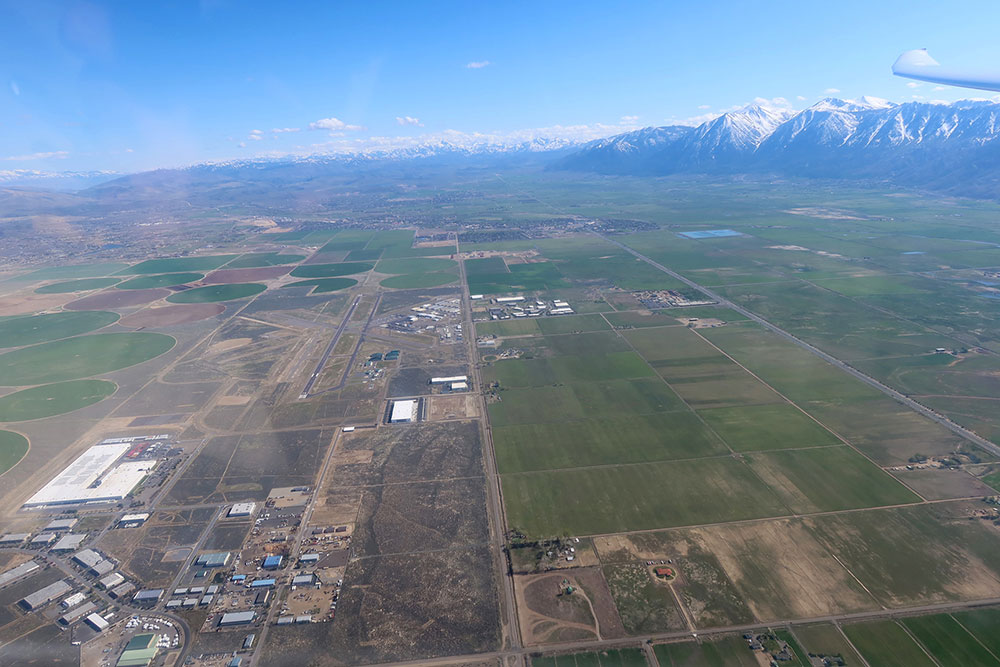
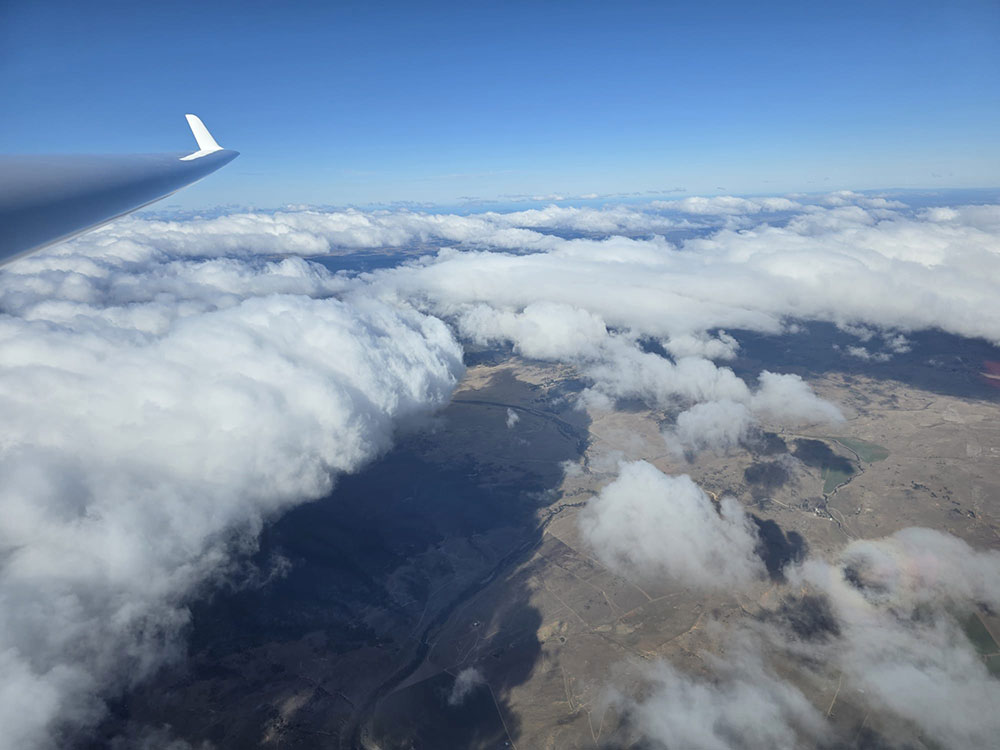
The Canberra Gliding Club Bunyan Wave Camp is scheduled for 19-27 September. Also, several Australia pilots will be heading to Omarama in New Zealand for their annual wave expedition. This is a good time to take a look at what is involved in flying in wave. Rick Agnew has been wave flying for many years in Australia, North and South America as well as New Zealand. Here, he takes us though the basics of wave flying.
By Rick Agnew
There are essentially two different techniques for using wave lift, depending on whether you are flying the under-laminar (turbulent rotor) layer, or flying in the laminar layer itself.
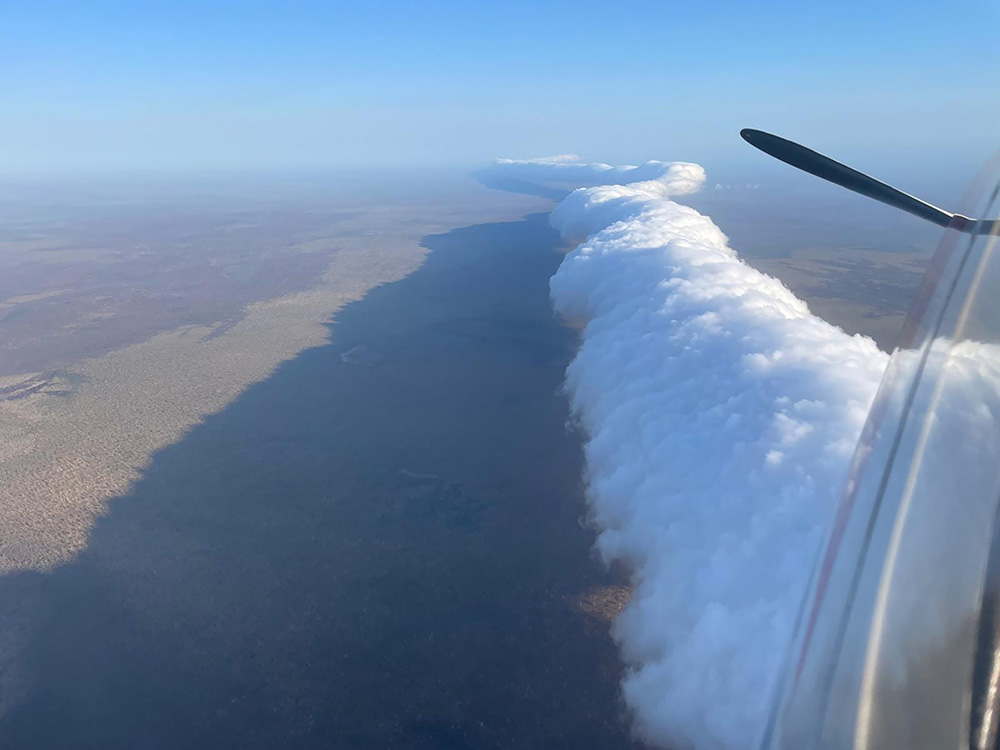
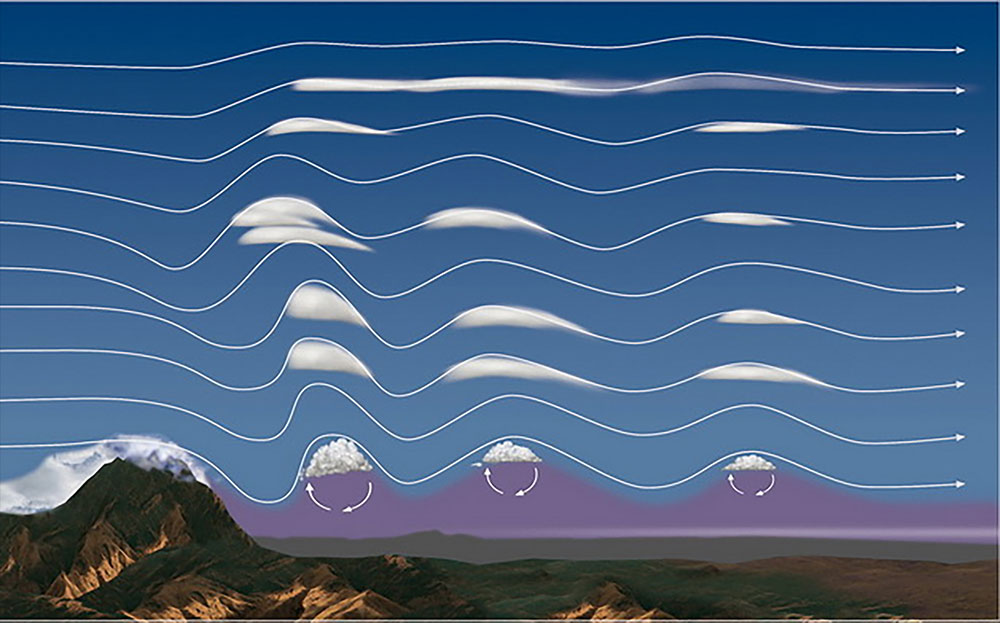
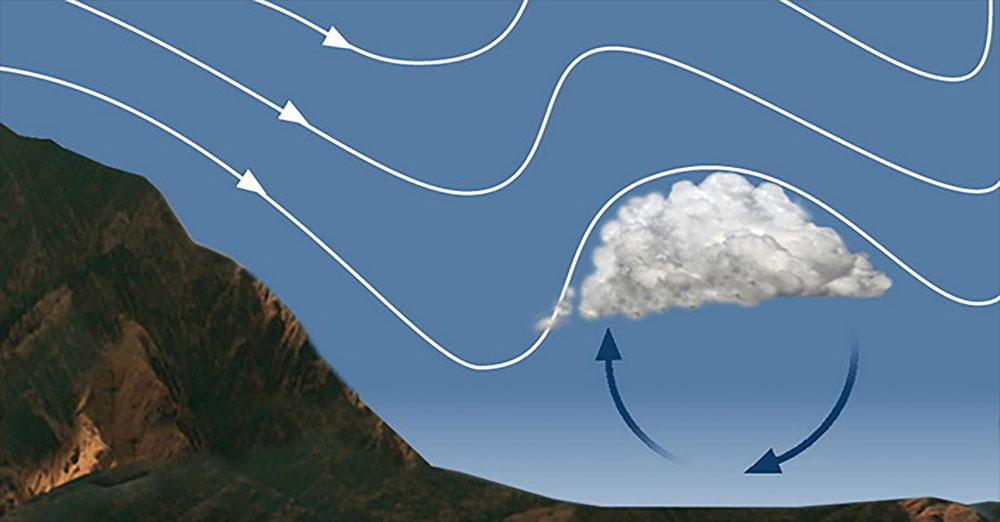
Several forms of under-laminar lift exist, but they are all nearly stationary relative to the ground. To use this lift, fly upwind of the smallest, lightest fragments of cloud, even tiny, short-lived wisps. I refer to these as scud – small rotor or roll clouds. These barely visible tufts often mark the leading edge of the laminar airflow. Recognising these scud clouds and reacting promptly is vital. Your entire wave flight may depend on spotting and moving to these structures quickly.
Maintain enough airspeed to avoid being blown backwards, keeping to a true airspeed of at least equal to or greater than wind speed, which allows you to hover over essentially the same point on the ground. Using distinct ground features as reference points will help you hold position.
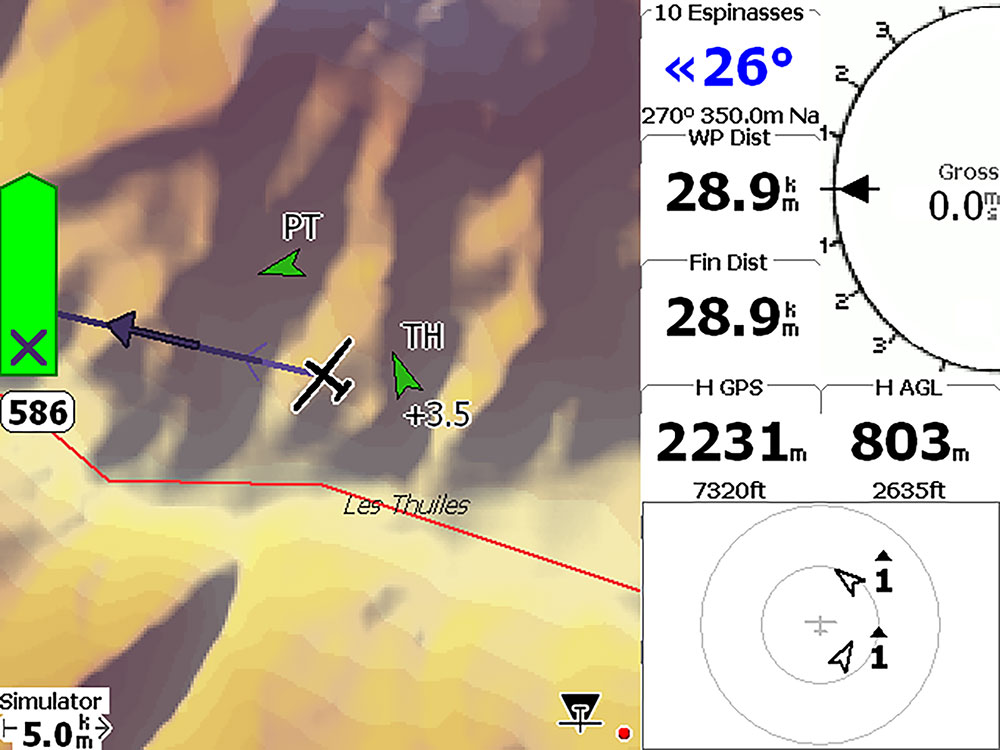
By moving slightly forward, back or sideways, you can locate a stronger lift. Frequent reference to ground features helps you stay centred in the best area. GPS can help, but in a very rough rotor, it may be hard to focus on small displays. As you climb towards cloud base, move gradually upwind, where the best lift usually is.
- Building a mental picture of lift structure
- Quickly build a mental picture of the lift structure, using:
- Your variometer (delayed but quantitative information)
- - Your physical sensations (immediate qualitative cues)
Predicted lift/sink overlays from tools like Skysight on your nav computer
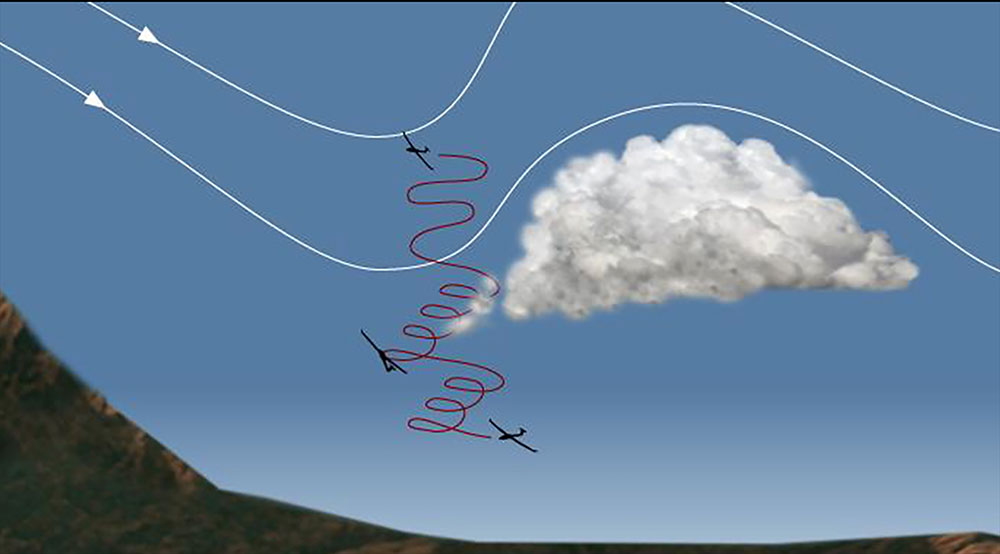
In a narrow, rough rotor, I recommend steep turns, much as you would use in thermals. Flatten the turn as you pass through a strong lift on the upwind side, and quickly steepen and speed up through strong sink. It can feel like “two steps up, one step down” – but you will gain height.
This is demanding flying - you must concentrate hard, constantly adapt to changing lift and sink, and actively fly the glider. In a rotor, rapid shifts from high positive to negative g are common, so secure all loose items. A camera flying through your canopy will definitely ruin your day.
Avoid arriving low in the rotor. Climbing from a low level is often extremely difficult, and below a certain height, it may be impossible to climb out at all.
Using lift in the laminar layer - The wave proper
Once you reach the laminar layer, the air becomes silky smooth. Your primary aim now is to stay in the area of the best climb rate. As in rotor, ground references are crucial to staying roughly stationary over the best lift.
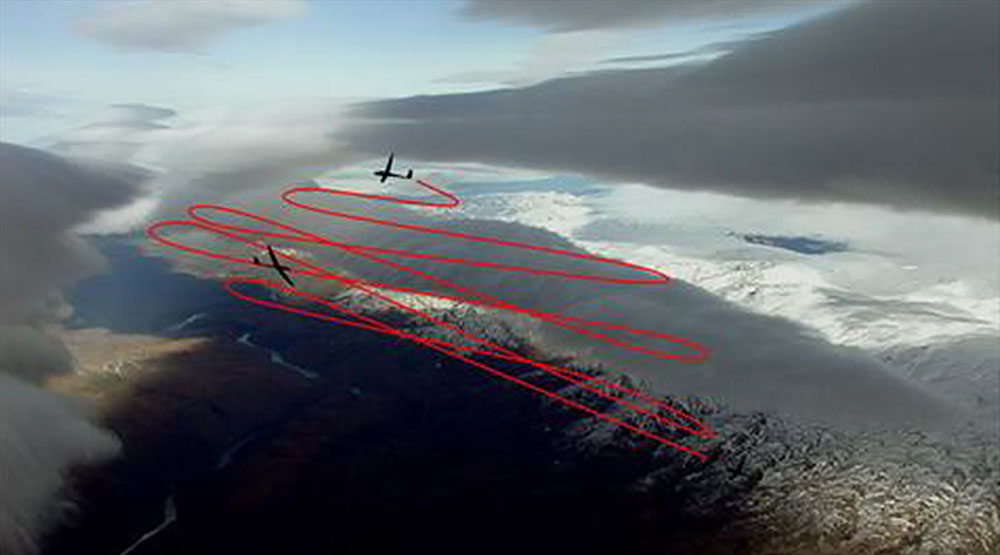
If the wind speed is less than your glider’s minimum sink speed, you must fly along the wave line, crabbing to compensate for crosswind. The best lift is usually under or just upwind of the leading edge of lenticulars. If the lift is localised, use broad figure‑eight patterns as you would on a ridge, always turning into the wind.
If the wind equals or exceeds your minimum-sink speed, you must effectively ‘park’ in front of the wind, and remain stationary relative to the ground. Pick two close ground features and check your position frequently.
Remember, wind speed usually increases with altitude. You may need to speed up to avoid being drifted back into the sink. Only constant position checks will keep you out of downwind trouble.
Lift is not uniform along the wave. You may need to explore slightly upwind, downwind or laterally to find the best climb.
If you lose the lift, you’re either too far upwind or too far downwind of the core. For safety, always search upwind first. If you push downwind and find only sink, you may lose too much height to get back to where the lift was.
Two examples
1. You’re flying at 40kts with zero vario. You speed up to 60kts into the wind. The vario climbs slowly to a maximum, then decreases. You’ve just flown through the best lift. Turn back, reduce to 40kts as soon as the vario starts to fall, and be prepared for a long, slow grind back into the wind – changes come slowly if wind speed increases with height.
2. At 40kts with zero vario, you increase to 60kts, and the vario shows steadily stronger sink. You’re now upwind of the lifting zone. Turn downwind and watch the vario closely. Downwind, your speed over the wave pattern is high, so changes are rapid. As soon as readings go positive, turn 90° across the wind. Drift will carry you into the core. When the vario starts to drop, turn into wind, set 40kts, pick new ground references, and re‑centre. Once you’ve reached a comfortable height, move a little sideways along the system to refine the best climb area.
As a general rule, the strongest lift is:
Upwind of clouds with large vertical development
Downwind of the highest parts of the terrain
You’ll sometimes see parts of a cloud surging upwards more rapidly. These usually mark the best localised lift.
CROSS-COUNTRY IN WAVE
For experienced wave pilots, cross-country flights of over 500km are common in Europe, the Americas, New Zealand, and increasingly in Australia. These flights usually use several wave systems triggered by different obstacles (see WeGlide logs).
I’ll focus on flying along a single system and on moving from one system to another.
Once you’re above a ‘safety height’ – high enough that a drop out of laminar flow won’t force an immediate outlanding – you can move laterally along the wave line, crabbing against the crosswind. With cloud markers, ‘surfing’ the wave front is straightforward.
In blue conditions, you must visualise a line on the ground parallel to the triggering obstacle. If you lose lift, search upwind.
From Bunyan, I’ve flown many 300km flights and one over 900km in a wave. Flights over about 1,100 km have already been achieved in the Bredbo wave system. By jumping between multiple systems, even greater distances are possible, especially as airspace rules evolve and transponder use allows ATC to approve entry into currently restricted areas.
MOVING UPWIND AND DOWNWIND
Jumping between systems
Changing from one wave system to another inevitably means crossing a strong sink between lift lines. Set your MacCready to match the conditions (often to something near the ‘wind equivalent’) and fly fast through sink. Take care not to exceed VNE – and remember that true VNE increases with altitude, while indicated VNE does not. Your indicated air speed may significantly under‑represent your true airspeed at high altitude.
Height loss will depend on wavelength, sink rate, and your chosen path. As an example, with 40kt wind and 8km wavelength, upwind jump will be:
7,000ft loss in a 25:1 glider
3,000–4,000ft loss in a 35:1 glider
Downwind jump (with tailwind, crossing sink faster) will be:
1,700ft loss (25:1)
1,000ft loss (35:1)
To minimise height loss, you can try the following:
Change systems where the new wave is starting or ending – often lift and sink are weaker at the edges.
Travel along your current wave to find the weakest lift segment first, then cross upwind from there, as the adjacent sink is often also the weakest.
Choose a path where clouds are thinner, patchier or less organised, indicating weaker wave and usually weaker sink.
When going upwind to another system, keep a large height margin above any intermediate cloud. In a strong sink, the effective glide angle can be far worse than expected, and it can feel like you’re descending more than you’re moving forward.
If it becomes clear that you will arrive below the cloud tops of your target wave, turn back to your original system, climb again and only then retry.
Avoid arriving at the new system below the rotor cloud base. You’ll most likely encounter severe sink and turbulence and be forced to thermal rotor again to re-establish laminar contact, which may be difficult or impossible from that height.
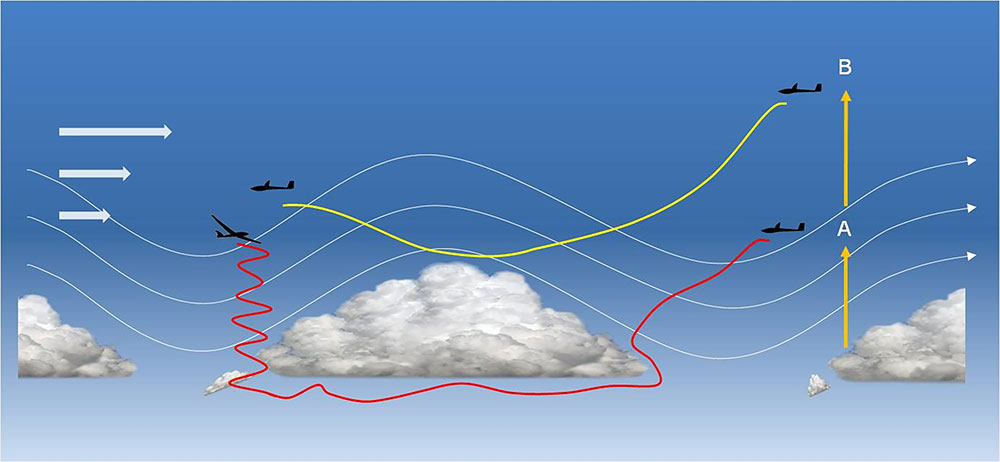
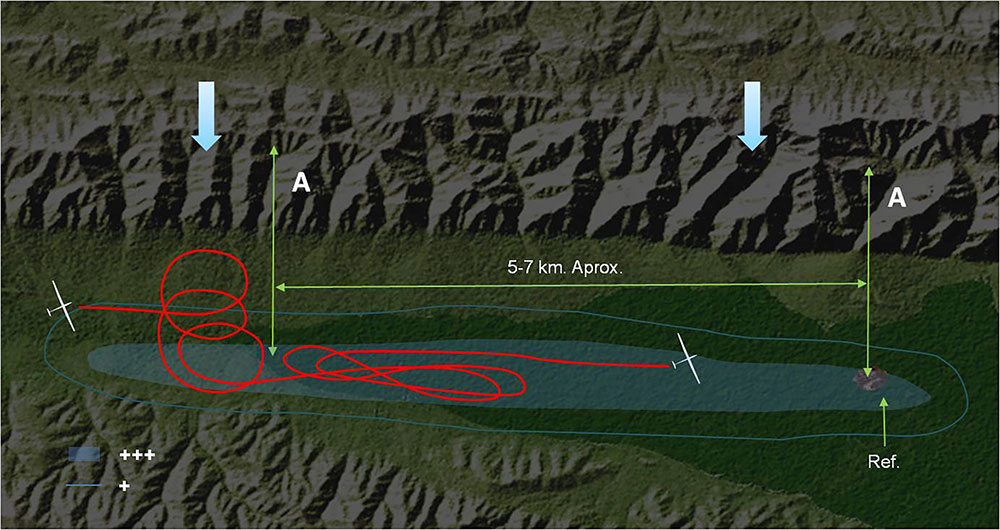
The transitions between different wave systems: Two options
When we start the transition to another wave ledge we have to be very generous with the height. If we start too low (A), we will be in or below the target cloud. This will force us to fly through the sub-condulatory region and look for the windward edge of the rotor. Once reached, we will climb with the rotor thermals up to the laminar zone. If we leave with sufficient altitude, we will lose a lot of height on the downwind side of the rotor, or in the descending zone of the wave current lines, but we will recover them quickly when we fly over the ascending region of the wave again.
SAFETY AND OUTLANDINGS
Outlandings from the wave are common enough that, at Bunyan, we treat every wave flight as a full cross-country. Safety heights (minimum altitudes below which you must avoid descending) should reflect:
- Terrain and land-out options
- Structure and reliability of the wave system
- Wind speed and direction near the ground
- These safety margins should be higher than in normal thermal soaring.
- Only plan to use a downwind paddock as a last resort. We’ve heard that many ‘flat-earth’ pilots attempt wave circuits as if they were at home doing 600ft circuits in calm air – with predictable, pale-faced results. Allow for an extra sink and remember that your circuit may well be flown in an area of rotor or strong wind gradient.
Landing in strong winds in wave: Check wind direction
The presence of rotors can cause the wind on the ground to constantly change direction and even blow in the opposite direction to the wind at altitude. This flow behaviour must be carefully taken into account on wave days. Checking the wind direction just above the runway is a fundamental precaution. Radio messages from your crew on the landing strip should give real-time indications of ground conditions prior to your landing – that is, wind speed and direction.
Safety in the wave
While wave flying is one of the most rewarding forms of gliding, it demands respect, preparation and disciplined technique. The exhilarating and hypnotic sensations of wave flying should never distract you from essential safety rules.
On Tow
Takeoff and towing often occur in turbulent air masses beneath the laminar flow, typically in rotor conditions, which can be quite rough. Before takeoff, check your harness and secure any loose objects in the cockpit, including cameras and other equipment. An experienced tug pilot can sometimes avoid the worst rotor areas, making the ride smoother. Familiarise yourself with emergency procedures and potential landing areas before you launch.
In severe conditions, you may need to use full control deflections, and the glider may take longer than you think to respond to these inputs. Therefore, it is especially important to react quickly to any out-of-station movements. This will help prevent the straining tug from pulling down and/or a large slack in the tow rope.
The use of dive brakes in rotor situations while on tow should be avoided, as it degrades the tug's rate of climb (potentially towing you out of the pummelling) but also alleviates stress on the tow rope. With repeated snapping, any strains on the tow rope must increase the chances of rope failure. When faced with a rope starting to loop or go slack, I side slip, then straighten up quickly.
There will be no doubt when you have entered the laminar flow wave itself! The roller-coaster ride abruptly finishes. You have time to sort yourself out before bunging off tow and subsequently notching your barograph.
In flight
Throughout your flight, you should have a contingency plan, in other words, a place to land if you lose the wave, the rope breaks, the cloud (Foehn gap) starts to close in, and so on. Maintaining a safe height and being mindful of our landing strips is probably the best insurance.
A headwind of 30 to 40 knots affects the average glider's glide ratio quite markedly. The glide ratio can be as low as 10:1 and quite often closer to 5:1. Flying low downwind to a landing zone is dangerous.
If you have to fly back to a landing area after missing the lift, do not fly diagonally across the wave system. Obviously, spending more time in the sink reduces your chances of making it back. It is better to try to fly upwind of any roll clouds as long as possible, and then cross over.
Outlanding
Outlanding in normal conditions should present no problems. However, to the uninitiated, outlanding in wave conditions may include strong turbulence near the ground, wind shear giving you a tailwind on final when you expected a strong headwind, as well as poor visibility. Beware of these possibilities!
Last light
You may still be basking in the sun at some incredible height, but remember that it may take some time to descend – even with full dive brakes and in areas of strong sink. The light on the ground fades especially fast in the wintertime!
Think about thermal shock factors on your aircraft. If you descend too quickly from high altitudes where typical air temperatures can be below 30 degrees, you may damage the aircraft's mechanical loads and its paintwork or finish.
Plan early for your descent, as it will take more time than you think. For example, 500ft/min from 20,000ft will take 40 minutes. Add to that sorting yourself out, the potential rotor and a circuit, and it will inherently take over one hour to be back on the ground. Furthermore, you may be flying into a setting sun and/or coping with fogging canopies – therefore, think about visibility as well! Respect the last light by making provision for the return flight.
Clouds
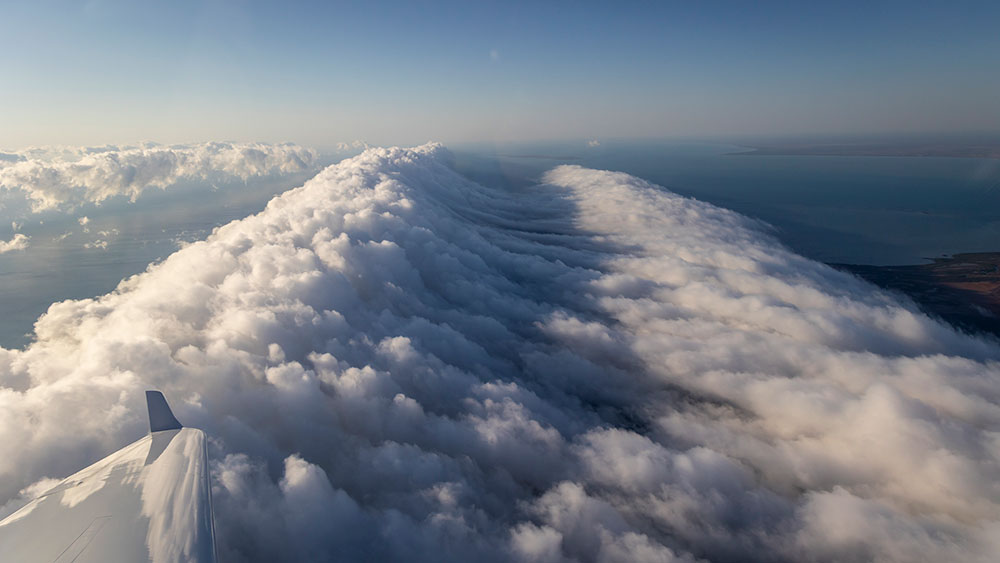
You are often near the clouds when you fly. If you are next to the leading edge, be careful not to be pushed downwind, as you may disappear into the cloud. If you see clouds forming in front of you, this is where the lift is! If this happens, try to fly quickly upwind of these clouds to re-contact the area of lift.
Always watch out for changes in air mass humidity. With some winds, the humidity of the air can increase within minutes. The Foehn gap can shrink and even disappear altogether at an alarming rate. If this starts to occur, make sure you have an access area clear enough to safely descend to ground level in clear air. If you are stuck above the clouds after the Foehn gap has closed, radio your situation to your base, notifying your intentions. Normally, you may still find some gaps downwind that will allow you a safe descent. However, this too might not be an option. Quick reaction and recalling where the gap was may get you down in the thinnest area of cloud.
Alternatively, if the situation gets worse, go straight down, crossing the cloud where the Foehn gap was. Before being engulfed by the clouds, set the trim to 60 knots, deploy full airbrakes, and let the controls go loose.
The glider will stabilise itself in its descent.
As you are a trained pilot, well-versed in unusual attitudes, you may need that skill to recover, once below cloud base. Obviously, this emergency procedure can only be attempted if you are certain that the clouds do not touch the ground. Otherwise, I would probably recommend that your last resort is to use your parachute. Really, this scenario should never be encountered, and therefore, this is the reason why you must be very careful when flying above the clouds.